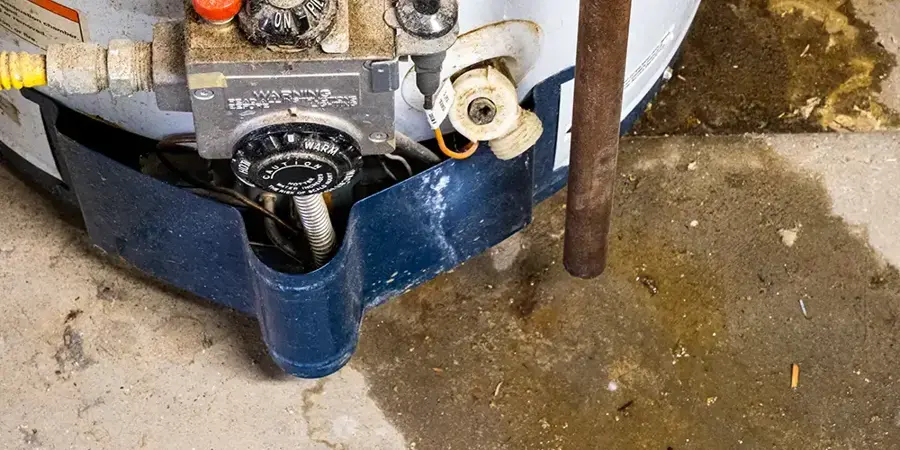
In many Pico Rivera tract homes the water heater sits in the garage, on a concrete slab, near the wall it shares with the house. When the tank leaks at the base or ruptures, the water goes where the floor lets it go: across the slab, under the wall and into the rooms behind it.
Key takeaways
- A garage tank leak spreads across the slab first, then reaches stored items, the shared wall and the next room.
- The first steps are to shut off the cold-water supply valve above the tank and the power or gas supply to the heater.
- A tank that leaks at the base has usually failed inside, and a plumber generally replaces it instead of repairing it.
- Extraction removes the water from the slab, then the wall base and flooring behind the shared wall are checked.
- Cardboard and anything stored on the floor absorb water quickly and should be moved as soon as it is safe.
Why a garage tank leak travels
Pico Rivera homes of this era were built as single-story tract houses on concrete slabs. A garage floor is a slab too, usually at about the same level as the house.
A tank holds a lot of water. When it fails, that water has no basement to fall into and no sump to collect it. It spreads out until the surface is wet from wall to wall.
Where the water goes
The garage slab usually slopes slightly toward the door, but a slow leak can pool against the wall shared with the house first.
From there it creeps under the bottom plate of that wall, wicks into the drywall and can soak flooring in a laundry area, hallway or bedroom on the other side.
What gets damaged quickly
Cardboard boxes, holiday decorations, books and paper goods wick water up and are often lost.
Wood shelving legs, tool chests and bags of pet food or soil also soak the water and can swell, rust or spoil.
The first steps when the tank is leaking
The order of the steps matters, since water, electricity and gas are in the same corner of the garage.
Stay out of standing water if it reaches an outlet, a cord or a power strip, and shut off the breaker for the garage first if it can be reached dry.
- Turn off the cold-water supply valve on the pipe above the tank.
- Switch off the heater at its breaker, or set a gas control to its off position.
- Do not try to move the heater or plug the leak.
- Move stored boxes and belongings onto a dry shelf or table.
- Photograph the floor, the tank and anything damaged.
- Call a plumber for the tank and a restoration team for the water.
What the extraction and drying steps involve
The first job for the restoration team is to get the water off the concrete. Water extraction uses pumps and wet vacuums to take the standing water off the slab so it does not soak farther into the walls.
The crew then looks at the wall shared with the house. The base of the drywall, the baseboard and the flooring beyond are checked with a moisture meter, since the wet edge often reaches farther than it looks.
If the baseboard has swollen or the drywall is soft at the bottom, that section is opened to dry the cavity. Otherwise the material stays in place and is dried in place.
A garage slab is not finished like a living room, but it is concrete, and it takes time to release the water it soaked. Fans and a dehumidifier are used until readings come back down.
Why the next room matters more than the garage
A wet garage floor is easy to see and easy to dry. The damage that costs more is on the other side of the shared wall.
Carpet in a hallway, laminate in a laundry room or the base of a bedroom wall can look dry while still wet underneath. That is why the crew moisture-maps past the visible edge of the water.
The same approach is described on the water heater leak cleanup page, which covers the garage tank, the indoor closet tank and a rupture that reaches the rest of the house.
- Check the wall base on the house side of the garage wall.
- Check flooring in the closest room, including under any rug.
- Check cabinets, a washer or a water softener standing against the wall.
- Look at the baseboard for lifting, swelling or a dark stain.
Replacing the tank and the drain pan question
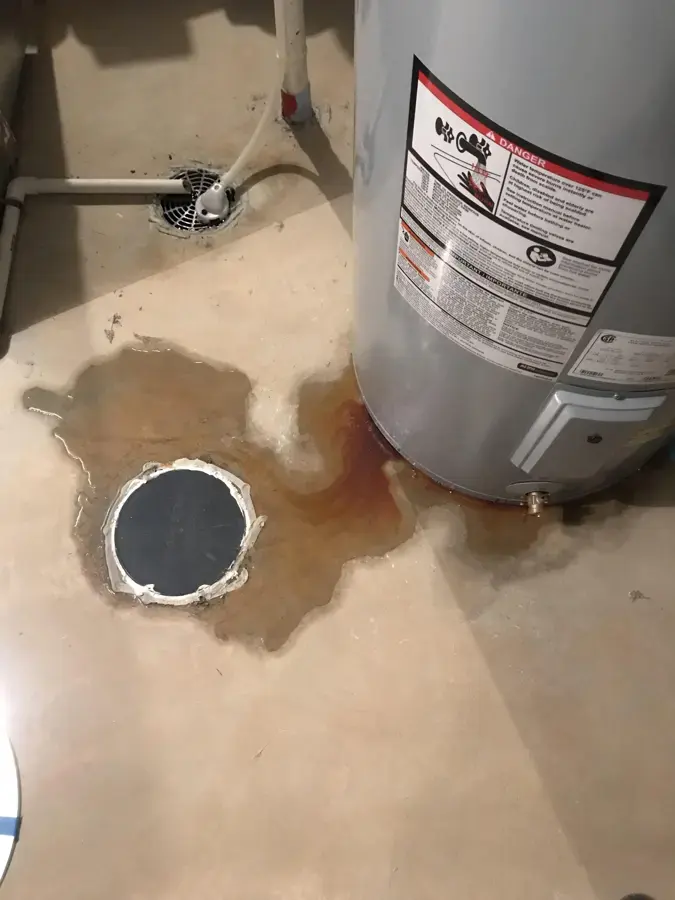
A tank that leaks at its base has generally corroded inside and cannot be patched. A plumber replaces the heater, and the homeowner can ask the plumber what led to the failure.
A pan under the heater, with a drain that leads outdoors, can catch a slow drip. It cannot hold the contents of a ruptured tank, so a pan is a limited safeguard, not a substitute for checking the heater now and then.
A quick look every few months at the base of the tank, the valve and the floor around it can catch rust streaks, puddles and a damp floor before the leak gets large.
When the water finds a ceiling or a wall
Not every leak near a water heater comes from the tank. A fitting at the top, a relief valve or a supply connector can drip down the side of the heater and look like a tank failure.
An old supply connection can also sit in a wall nearby. If the stain keeps coming back after the floor has dried, a plumber should look at the pipes that feed the heater.
Where a leak has soaked a wall into the house, the structural drying crew keeps measuring until the framing and drywall read dry. A leak that started in a garage can still end up inside the home.
Claims and documentation
A sudden tank failure can be a covered loss under some homeowner policies and not under others. It helps to check with the insurer and ask what the policy says about water heaters.
Photographs of the tank, the floor and the damaged items, along with the daily moisture readings, give the insurer a clear picture. A written list of what was discarded also speeds a claim.
Appliances that sit in other rooms can leak the same way. The appliance leak page covers washers, dishwashers and supply hoses.